Edit
How to Organize Documents into Folders
Written By:
Overview
As you create more guides, keeping everything in one list can quickly become overwhelming. Organizing documents into folders helps you stay organized, edit faster, and avoid duplicate or misplaced guides.
Folders make it easier to:
Separate drafts from finalized documents
Group guides by process, department, or use case
Ensure team members can quickly find the right documentation
Steps
Step 1: Create a New Folder
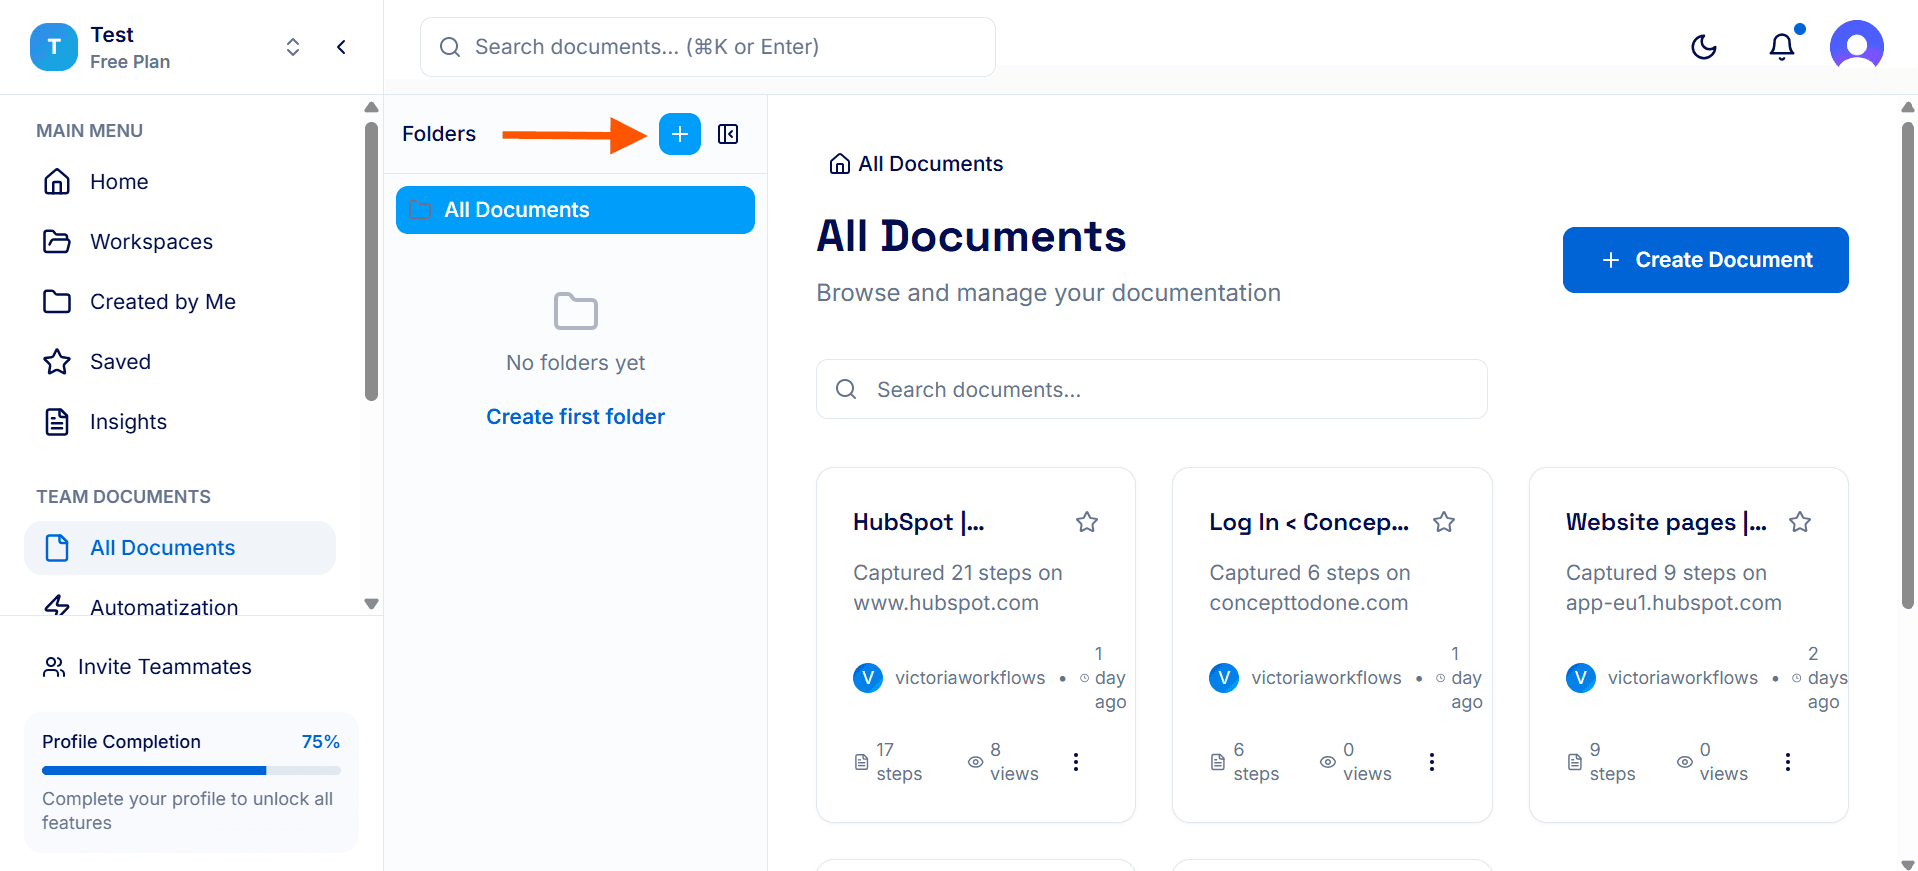
Navigate to All Documents from your DocuFast dashboard.
Click the + button after Folders to open the Create New Folder panel.
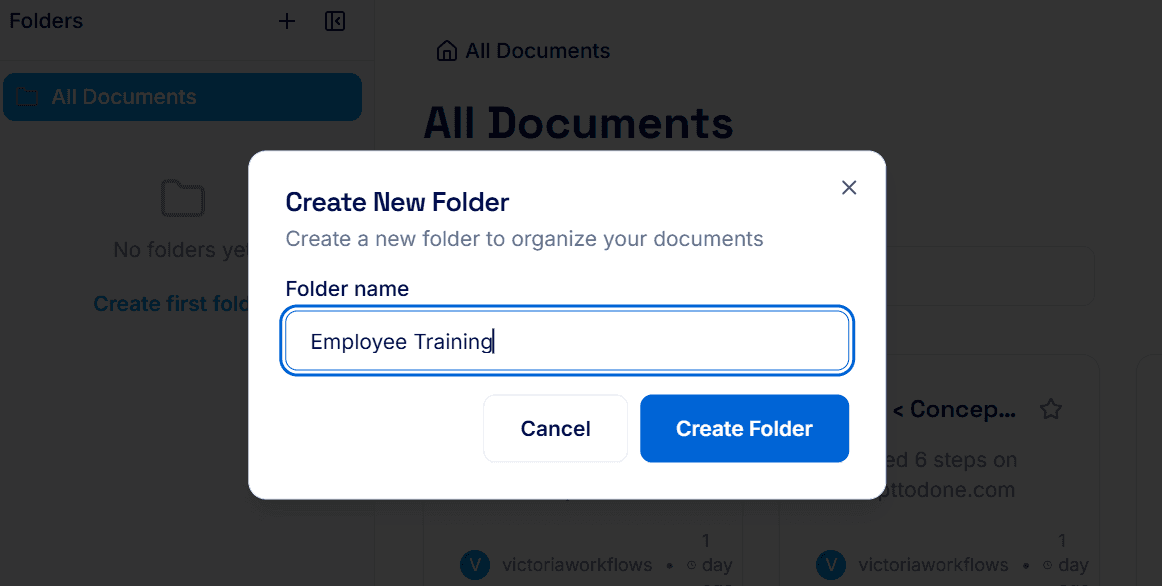
Enter a clear and descriptive folder name that reflects the purpose of the documents it will contain (for example, a process type, department, or document status).
Click Create Folder to add the folder to your workspace. The new folder will appear immediately and is ready to store documents.
Name Folders Clearly
Use folder names that reflect how your team works. Common ways to organize folders include:
By process type (Onboarding, Reporting, Support, Sales)
By department or team (Operations, Marketing, Finance, HR)
By audience (Internal Guides, Client Guides)
By status (Drafts, Finalized, Archived)
By tools or platforms (CRM, Project Management, Email Tools)
Step 2: Move an Existing Document into a Folder
After editing and finalizing a document, move it into the appropriate folder to keep your workspace organized and easy to navigate. Storing completed guides in the right folders helps your team quickly find approved, ready-to-use documentation and prevents unfinished drafts from getting mixed in with finalized content.
To move a document:
Locate the document you want to move.
Click the Kebab menu (three vertical dots) on the document.
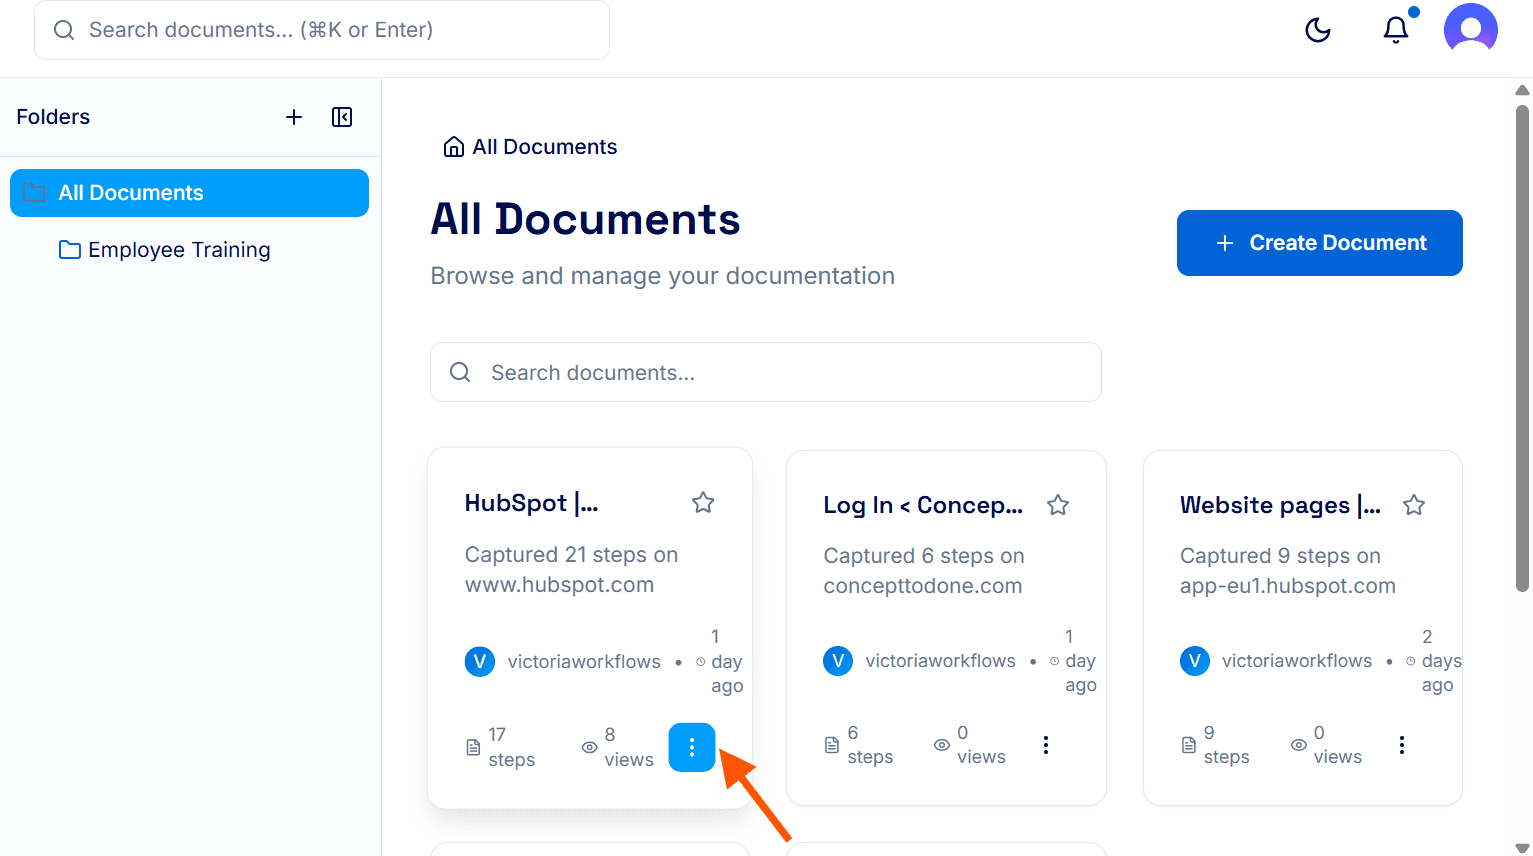
From the options, select Move to folder.
Choose the appropriate folder from the list.
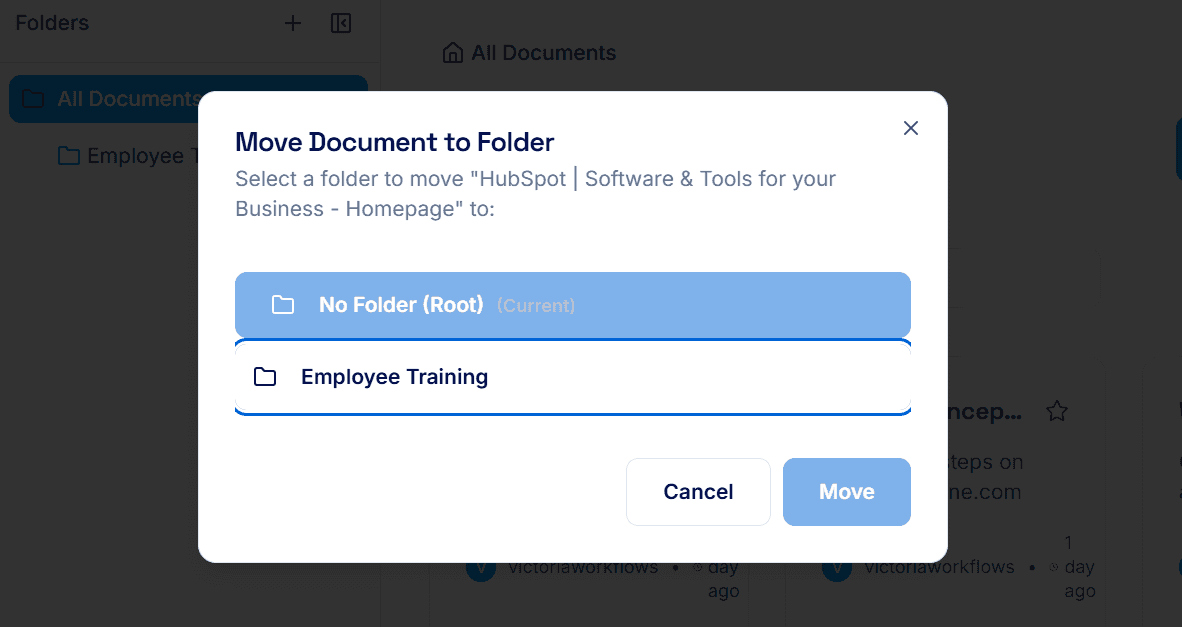
Once moved, the document will appear in the selected folder, helping you maintain a clean, well-structured workspace.
Step 3: Manually Create a Document Directly Inside a Folder
If your workflow doesn’t require steps like drafting, reviewing, or approval, or if you simply want to create a draft directly in a drafts folder, you can skip the extra steps and go straight to manually creating a document inside a folder. This approach is fast, simple, and keeps your content organized from the start.
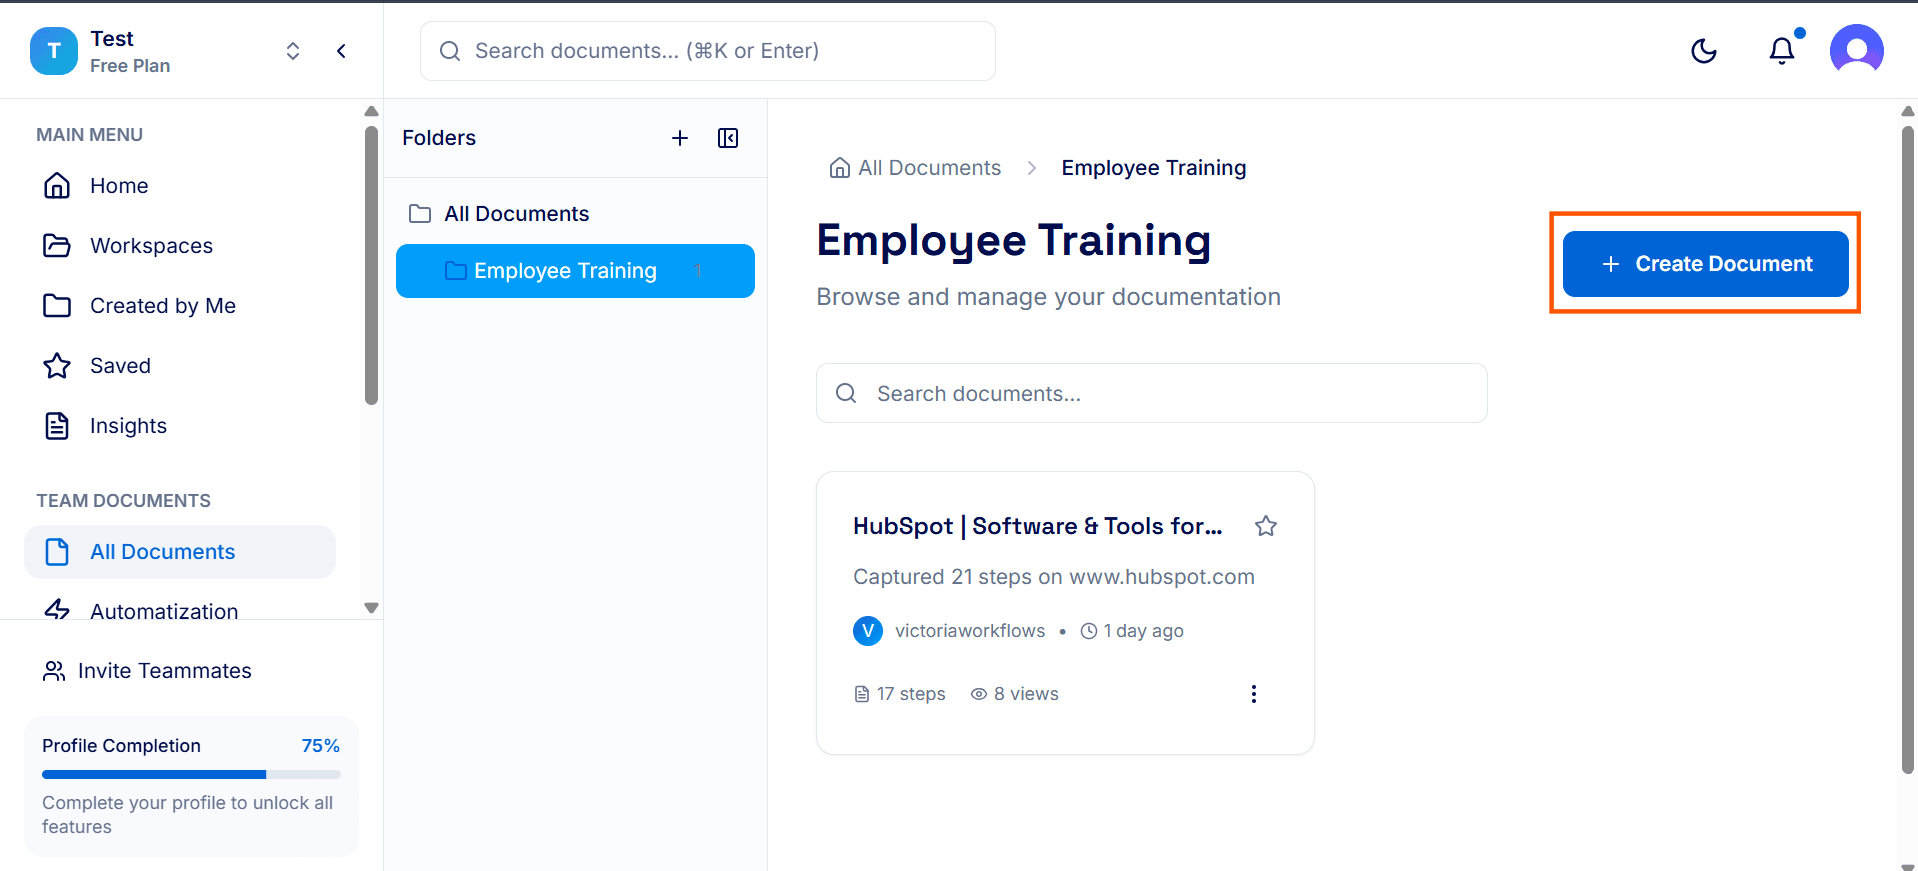
Identify and click on the target folder where you want your new document to reside.
Within the selected folder, click Create Document to start a new guide.
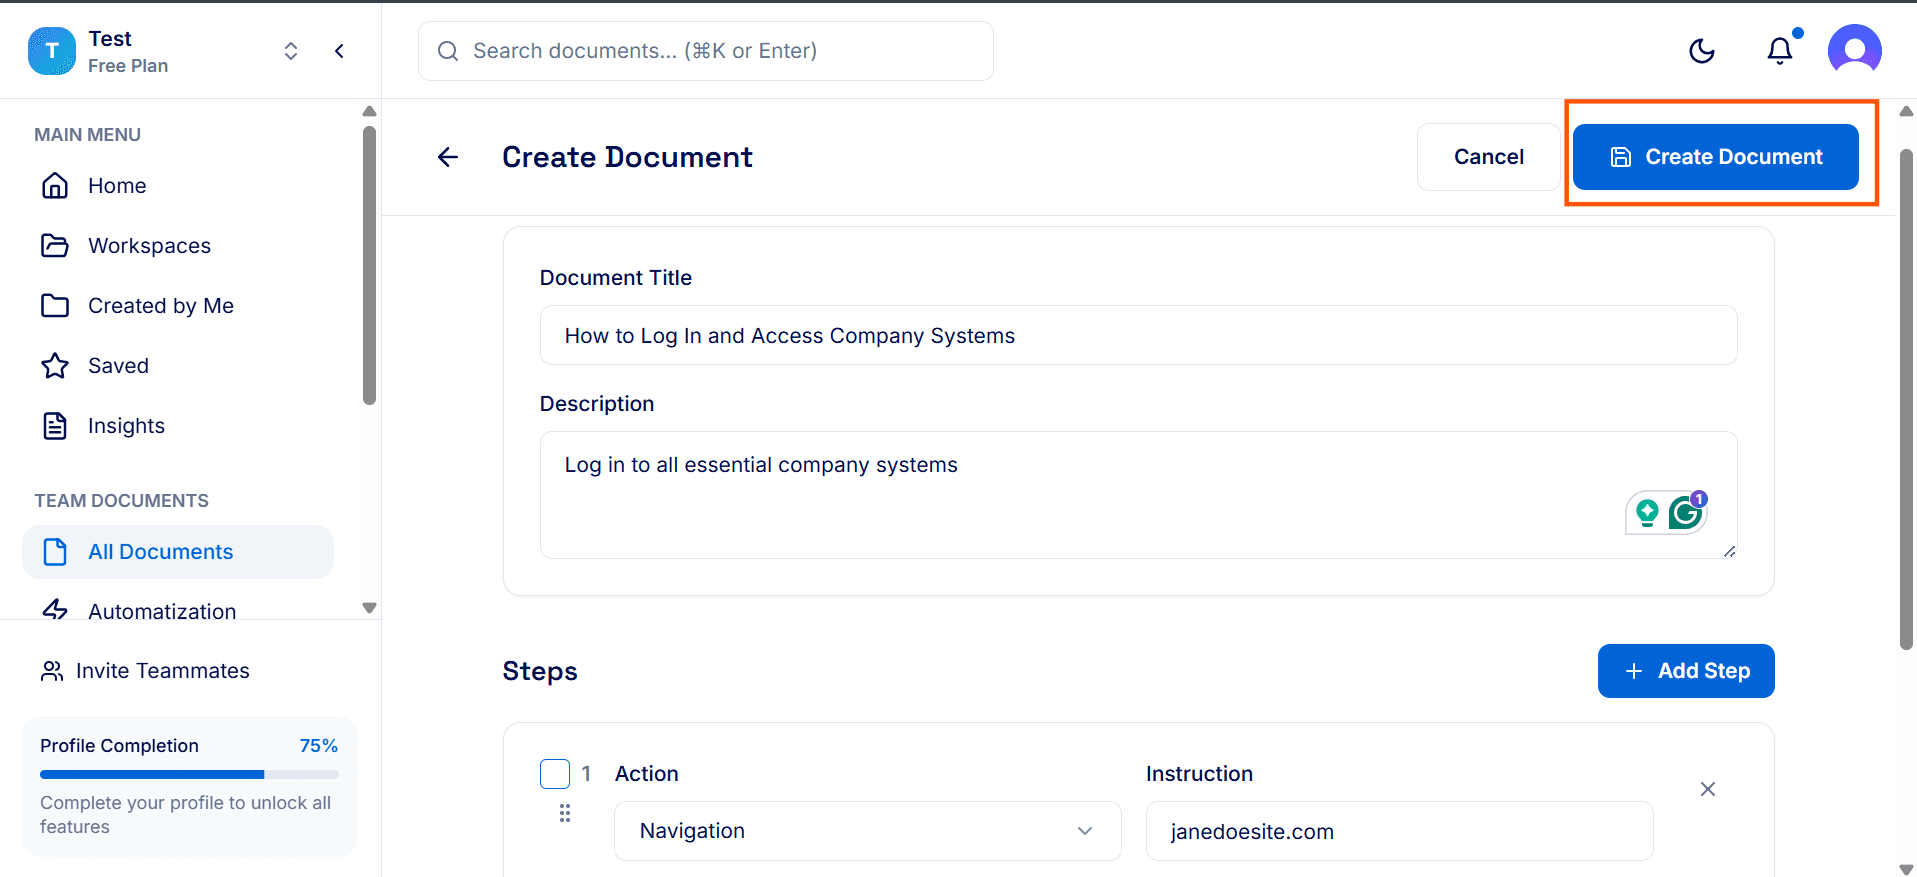
Enter the title, description, and outline the steps or content for the document.
Click Create Document to save it inside the folder. Your new document is now organized and ready for collaboration or sharing.
Tips for Best Results
Decide on a folder structure early and keep it consistent.
Separate draft and finalized guides to avoid confusion.
Keep client-facing documents in a dedicated folder.
Review and clean up folders regularly to remove outdated guides.
