Edit
How to Edit Captured Steps
Written By:
Overview
After recording, you can refine your document by editing instructions, adding steps, or adjusting screenshots.
Steps
Step 1: Open the Document
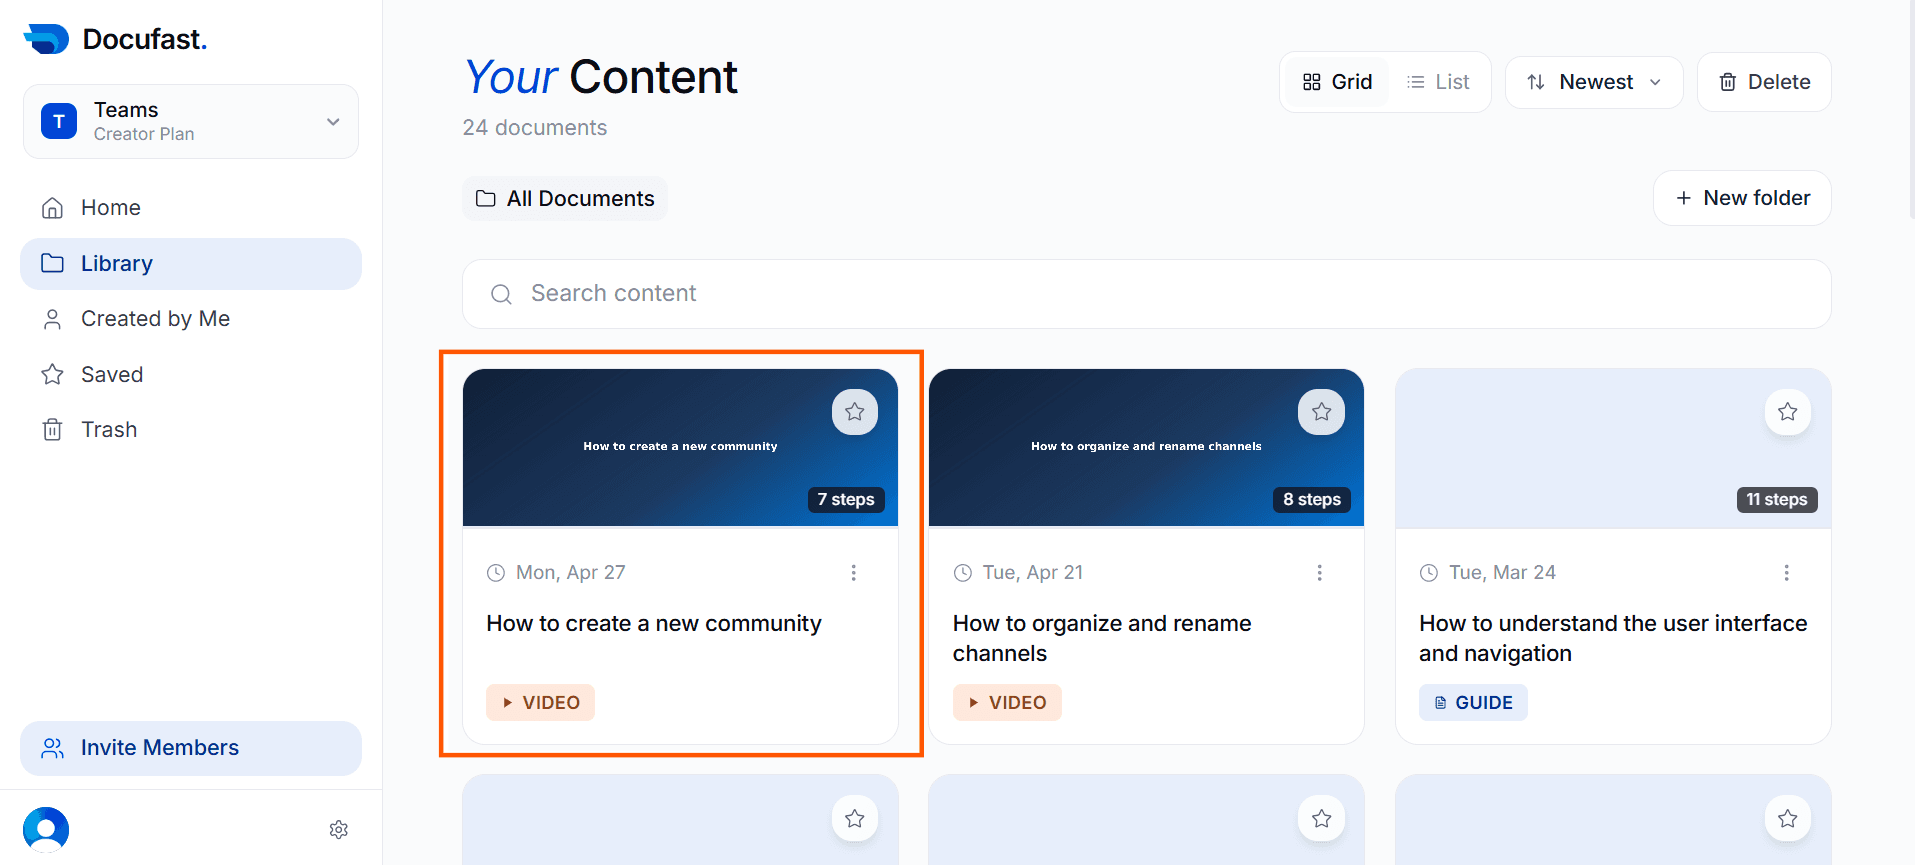
Go to Library on the left-hand side of your dashboard and select the recorded workflow you want to edit.
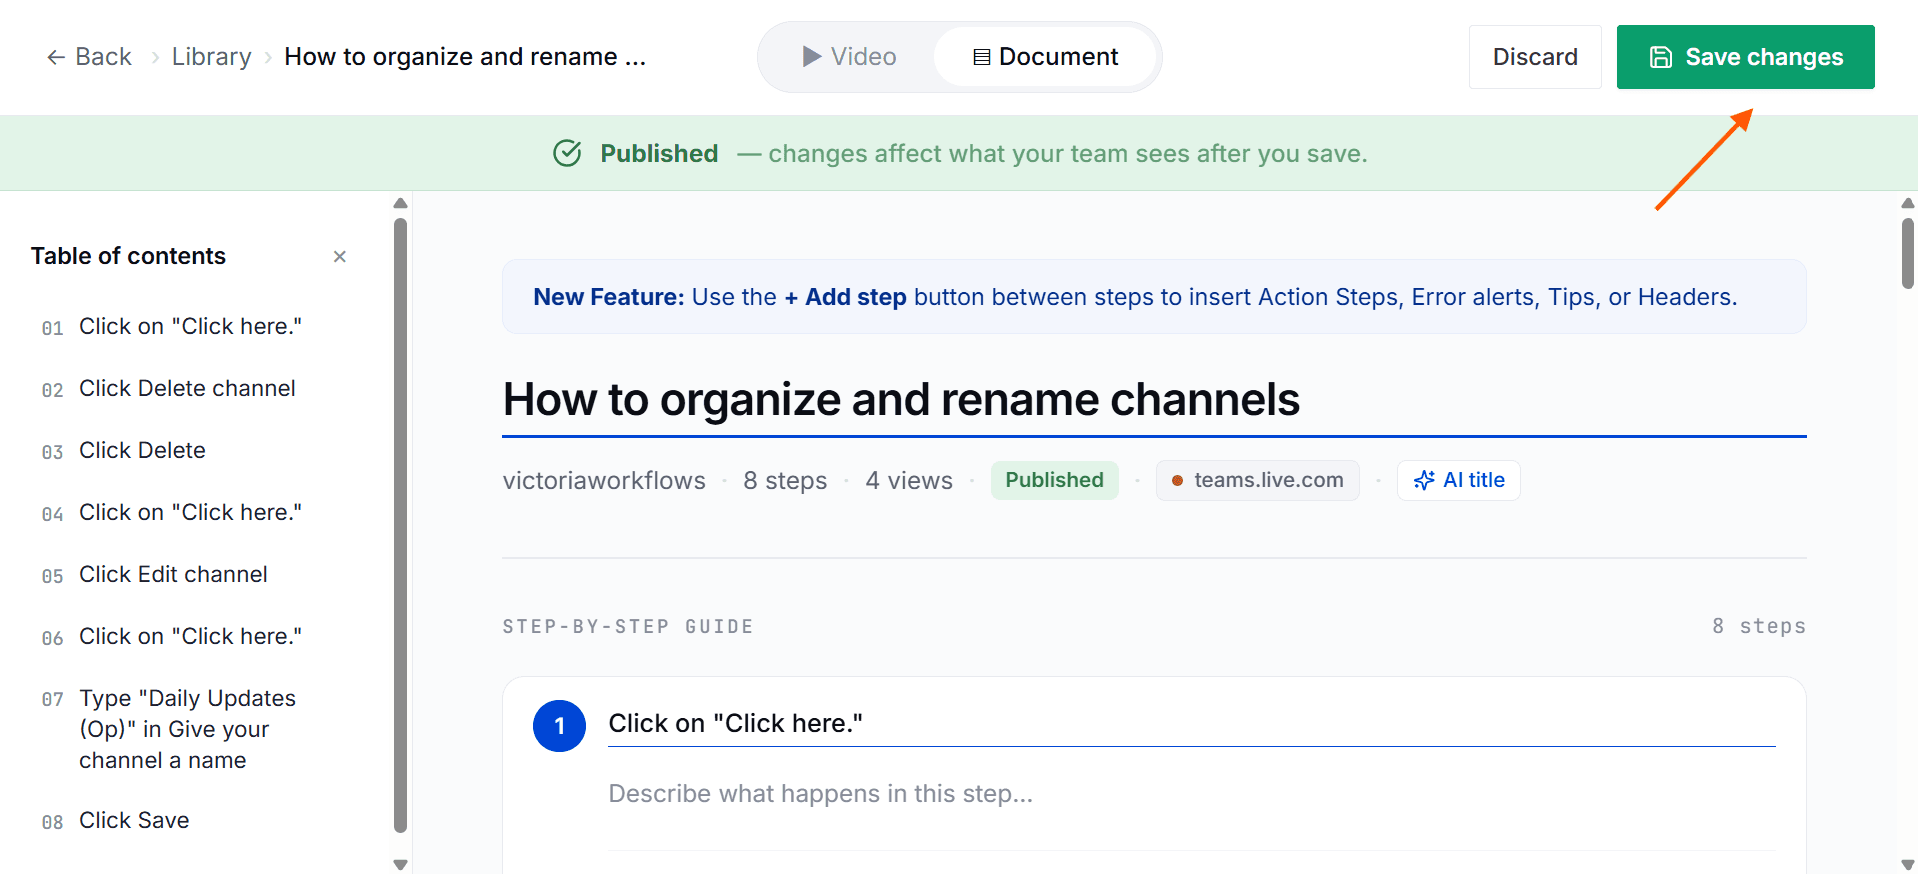
Step 2: Click the Edit Button
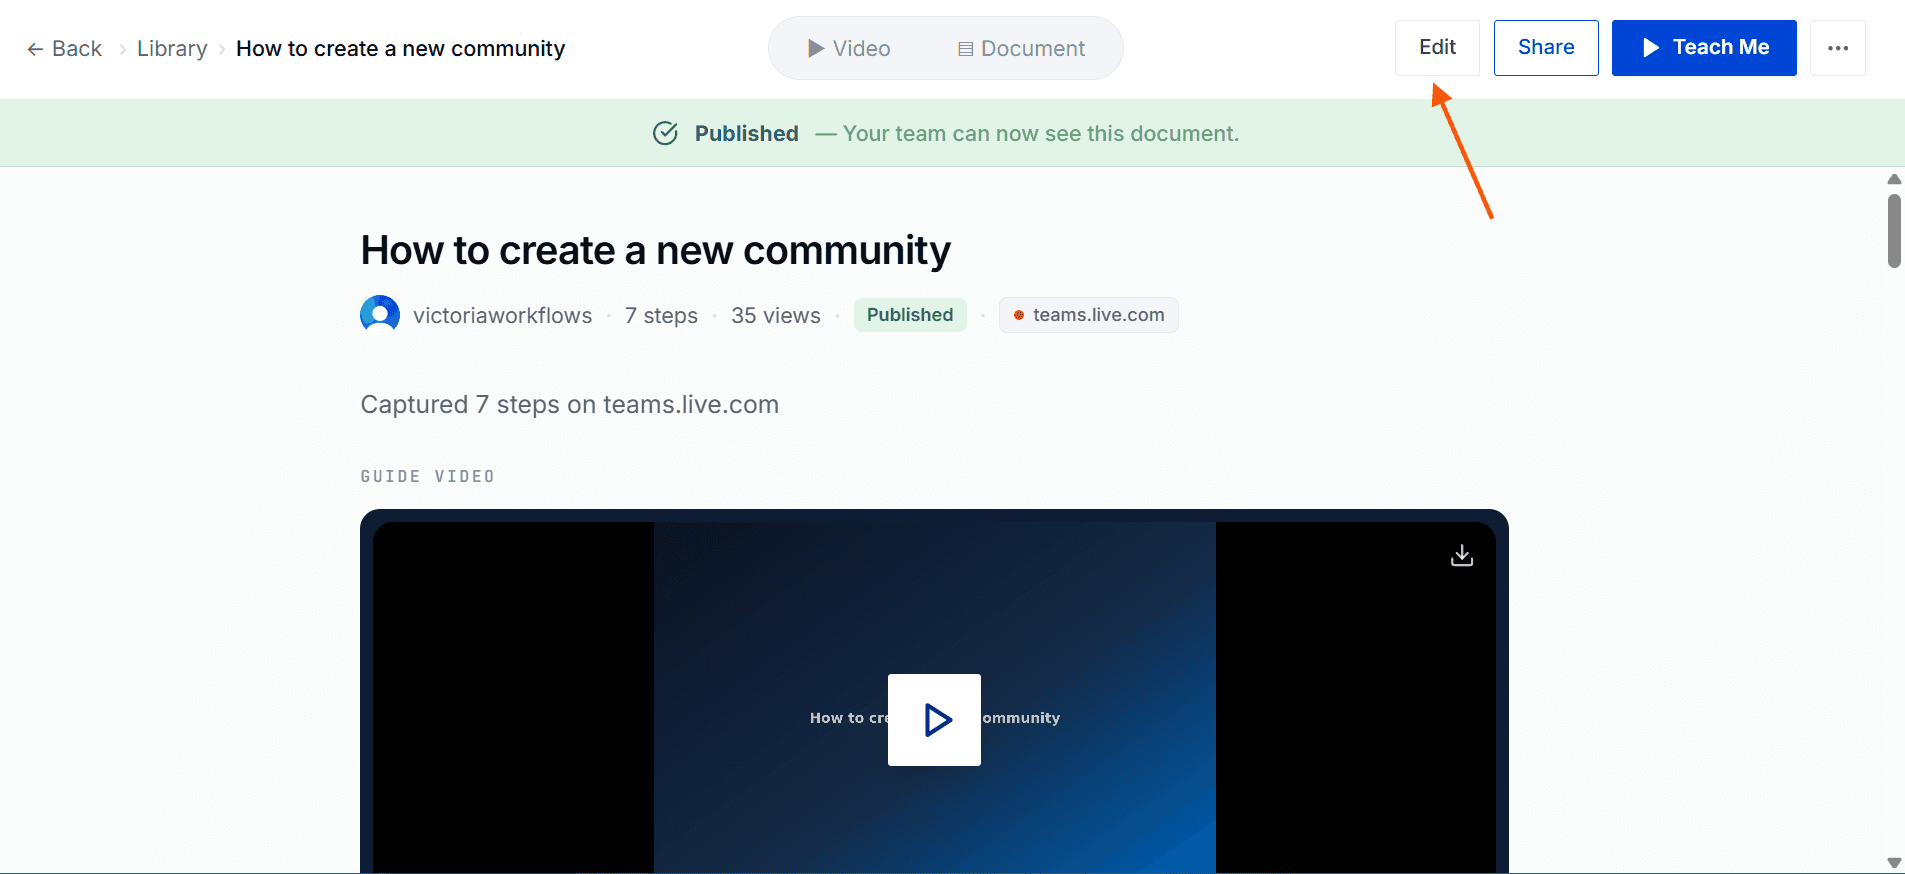
At the top of the document, select Edit to enter editing mode.
Step 3: Edit Step and Description
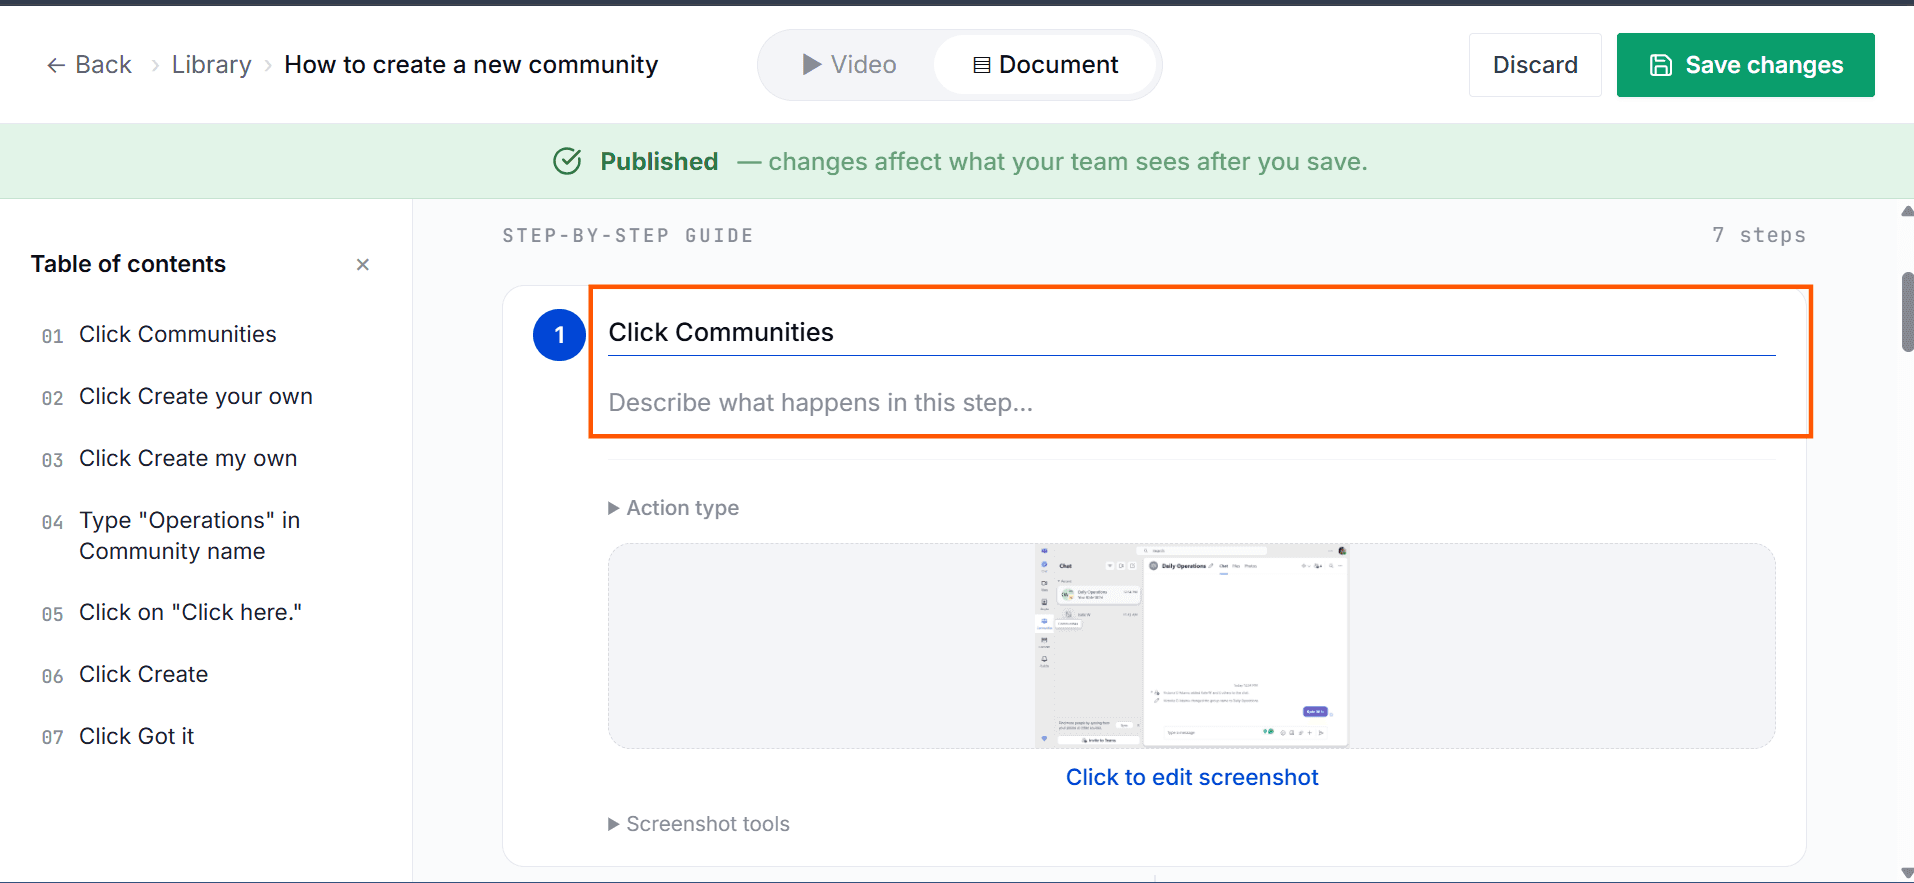
Click on the Step or Description box for the step you want to update, then make your changes.
Step 4: Delete a Step
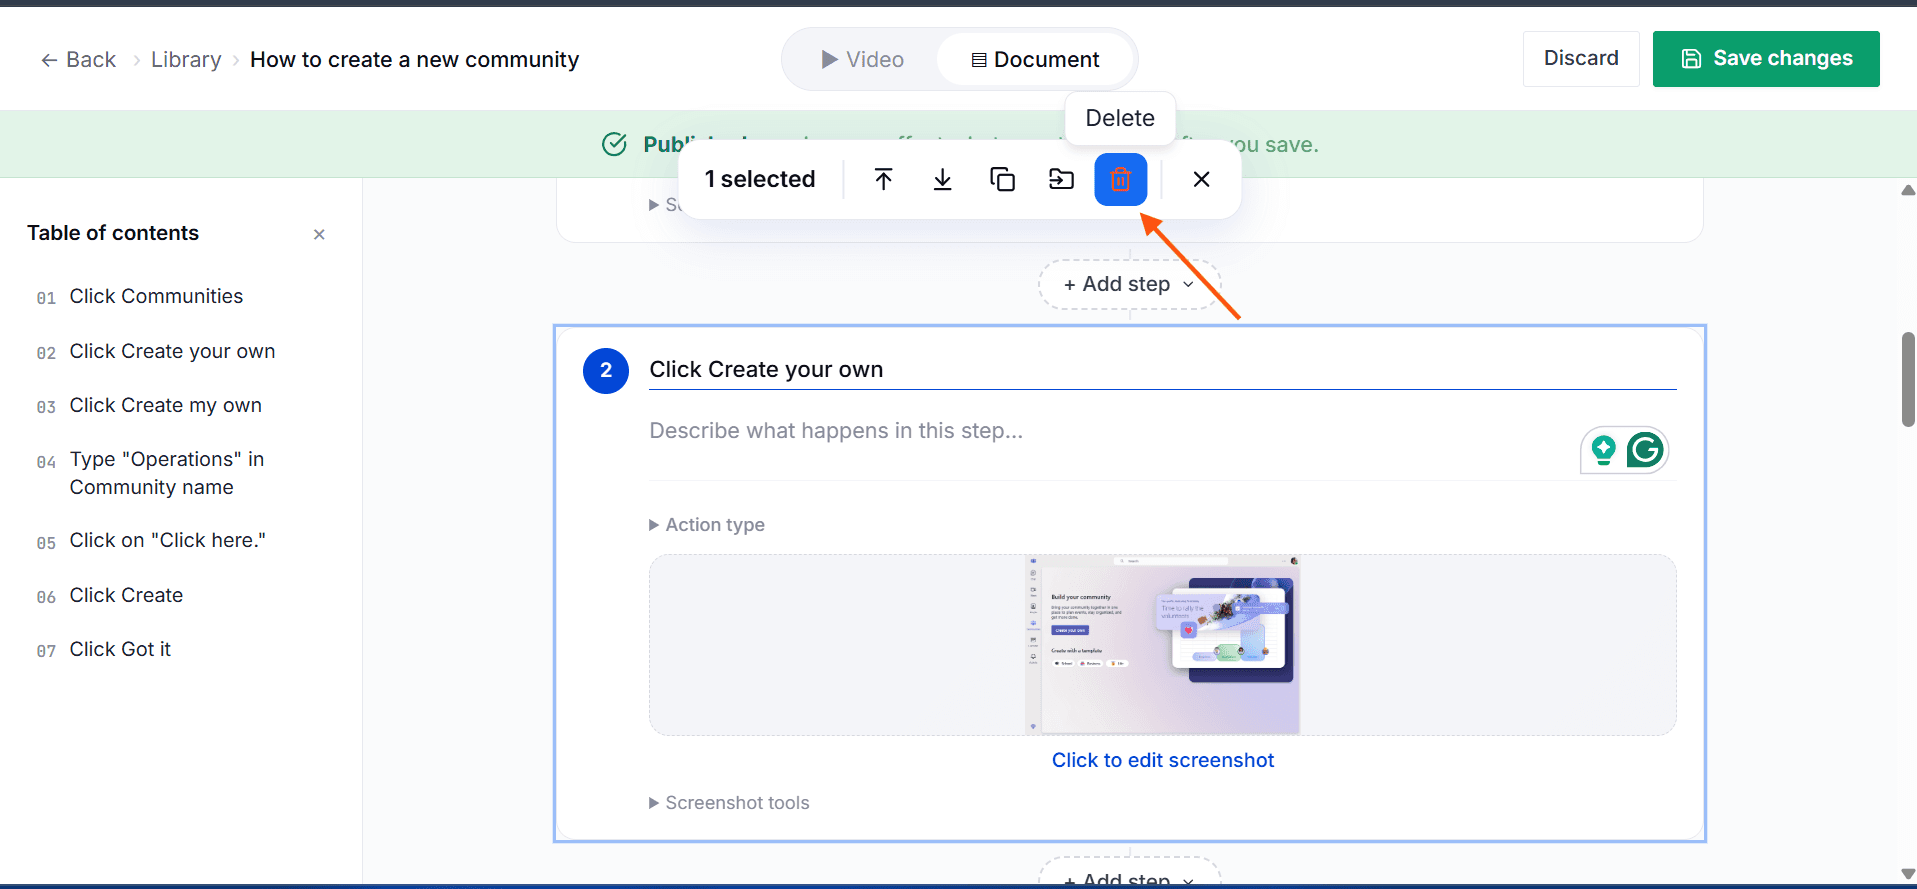
Click on the step you want to remove. Once selected, a set of icons will appear. Locate the delete icon and click it to remove the step.
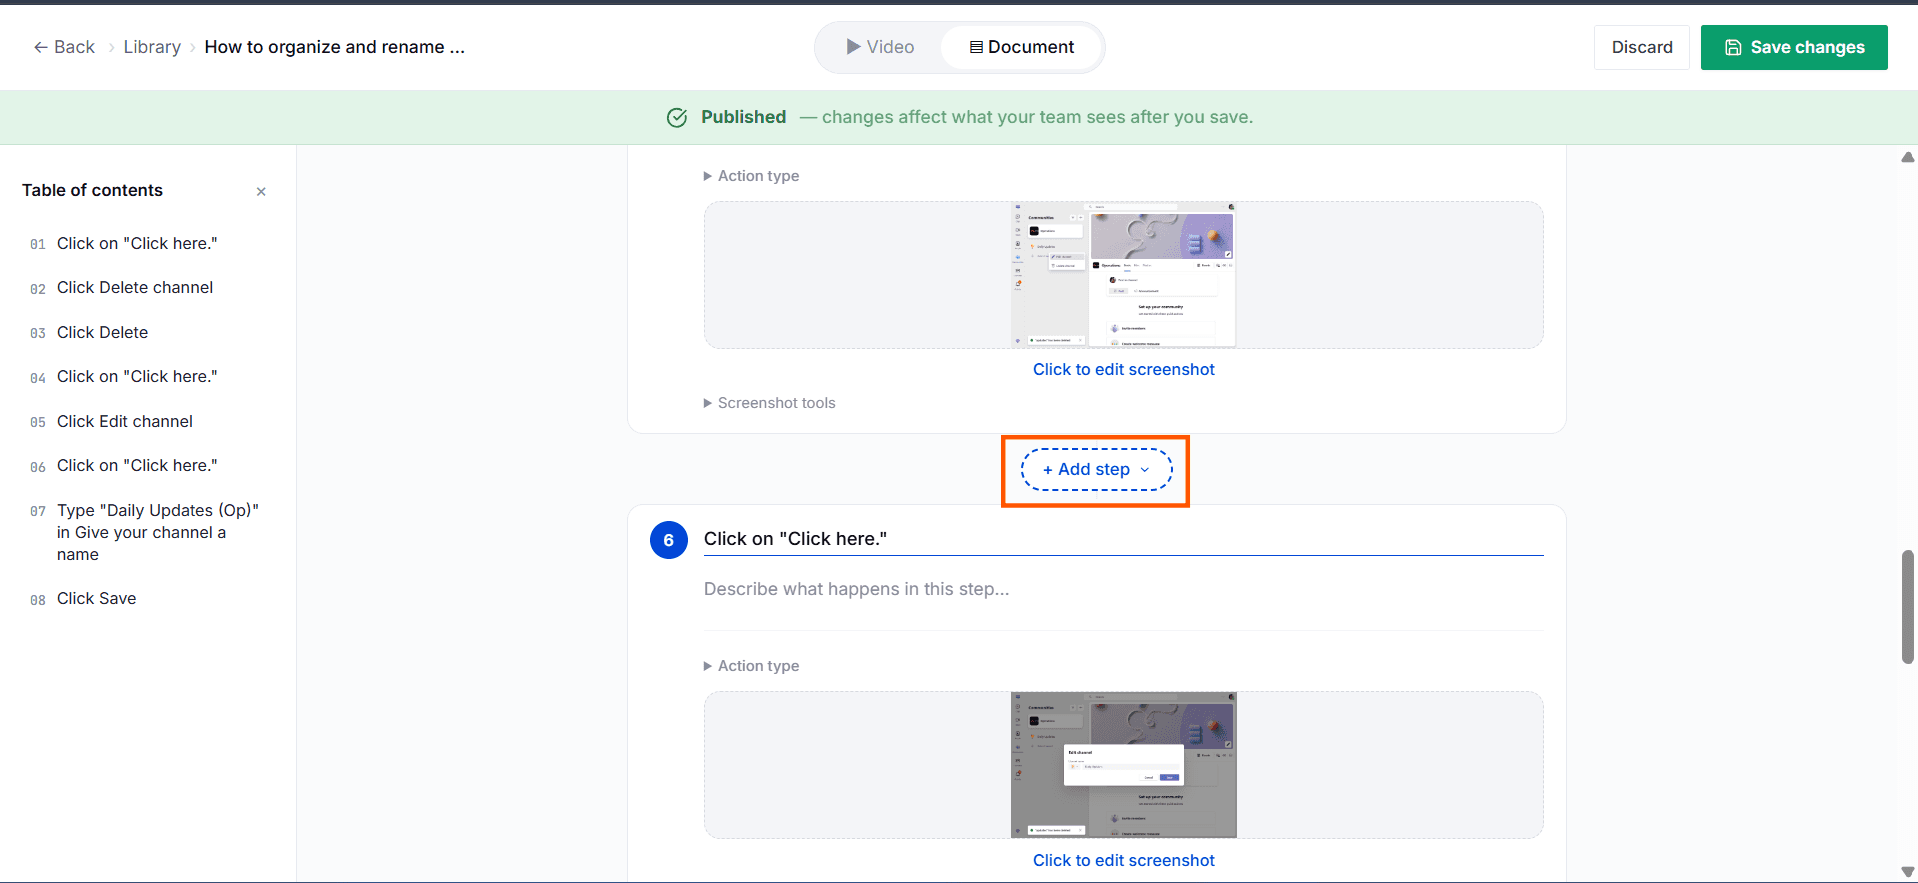
Step 5: Add a New Step
Click the Add Step button at the position where you want to insert a new step. Then enter a title and description, select an action type, and add a screenshot.
Step 6: Save Changes
Click Save Changes to apply modifications.
Tips for Best Results
Use concise step instructions for clarity.
Preview before saving to ensure logical flow.
