Edit
Getting Started with Edit Mode
Written By:
Overview
Edit Mode is your control center in DocuFast — it lets you fine-tune your guides, add missing steps, edit instructions, and polish screenshots. With Edit Mode, you can make sure your documentation is clear, accurate, and ready to share.
Prerequisites
You are logged into your DocuFast account.
A workflow capture or guide is open.
Steps
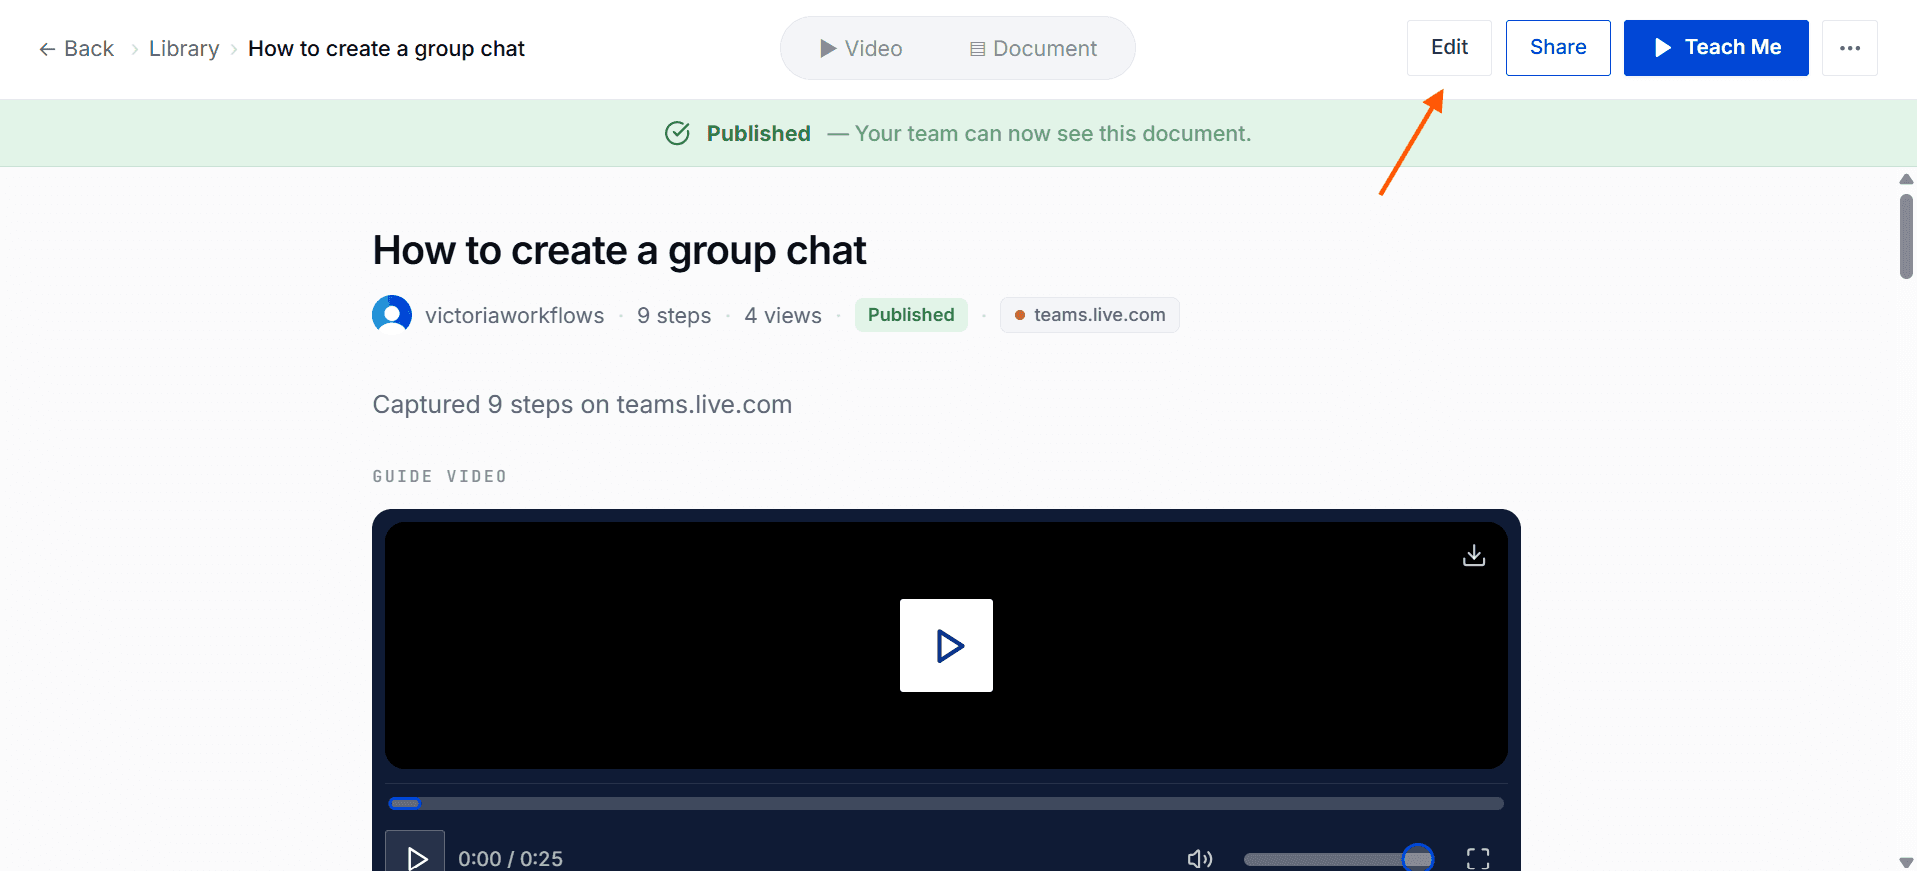
Step 1: Open Edit Mode
Click the Edit button in your DocuFast guide to start editing.
Step 2: Explore the Interface
Get to know your main editing tools: the document title and description, each step’s action and instruction, screenshot thumbnails, and the ‘Add Step’ button — these are your main tools for editing.
Step 3: Start Editing
Document Title
The document title is the name of your guide. It tells you and your team what the guide is about at a glance.
Tip: Use a clear, descriptive title so it’s easy to find later.
Example: “How to Process Customer Refunds” instead of just “Refunds.”
2. Document Description
The description gives a short summary of the guide. Think of it as a mini-intro that explains the purpose or scope of the workflow.
Tip: Keep it 1–2 sentences and mention who the guide is for or what problem it solves.
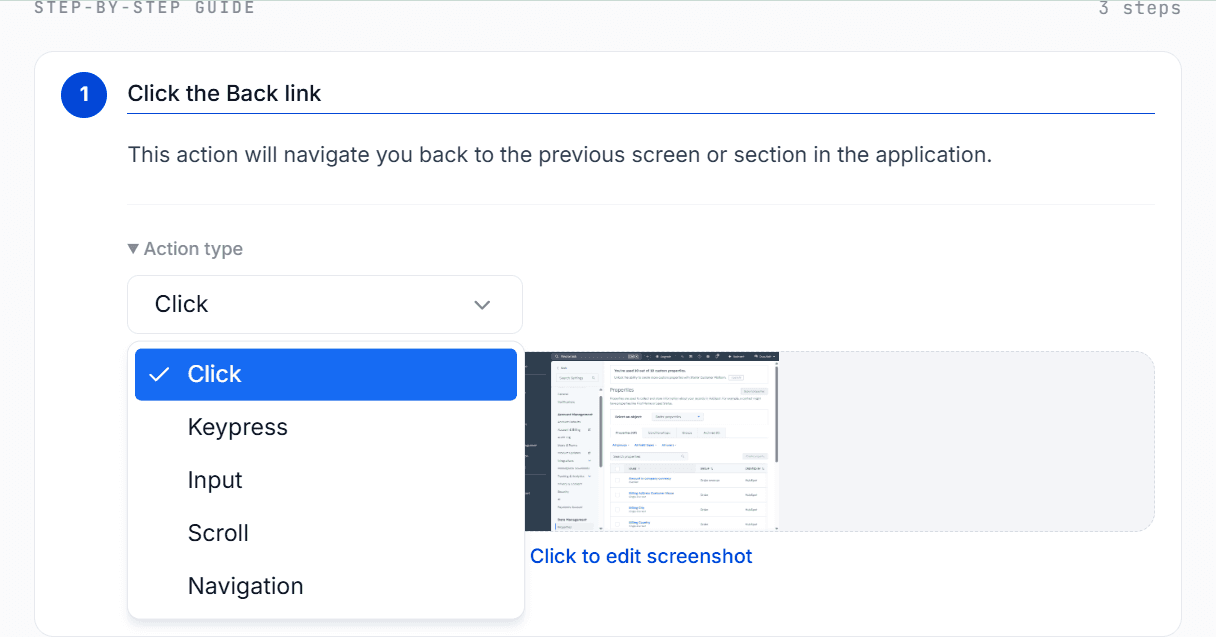
3. Step Action
Each step in your guide has a Step Action, which tells users what kind of action to perform. The main actions are click, keypress, input, scroll, and navigation.
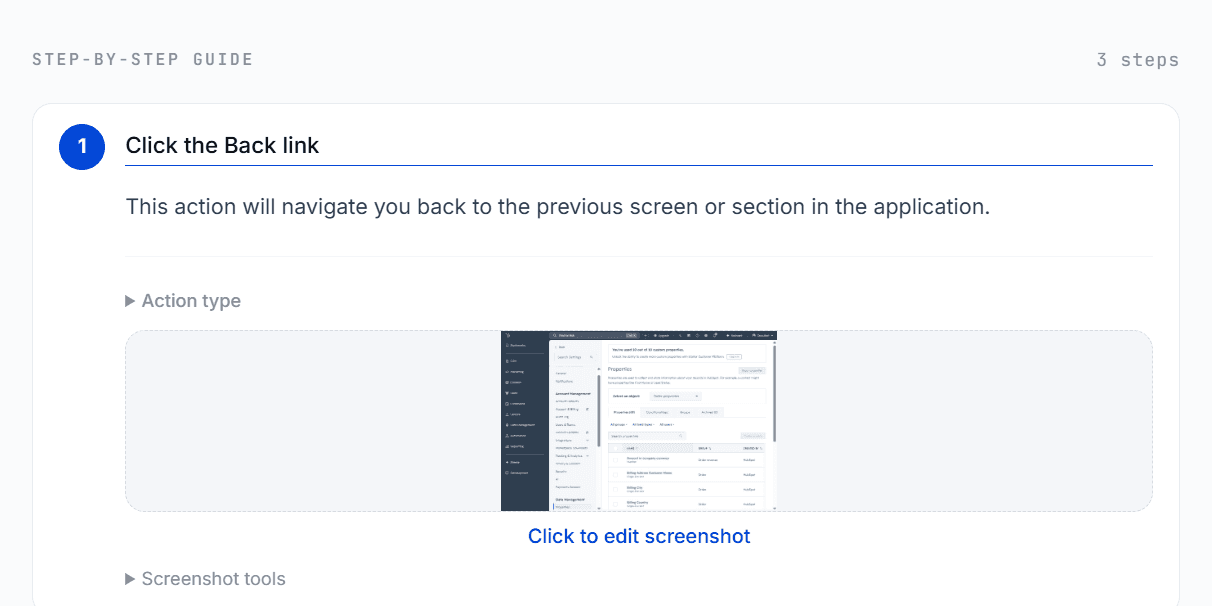
4. Screenshot Thumbnail
The screenshot thumbnail shows a miniature preview of the captured screenshot for that step. Screenshots help users visualize exactly what to do.
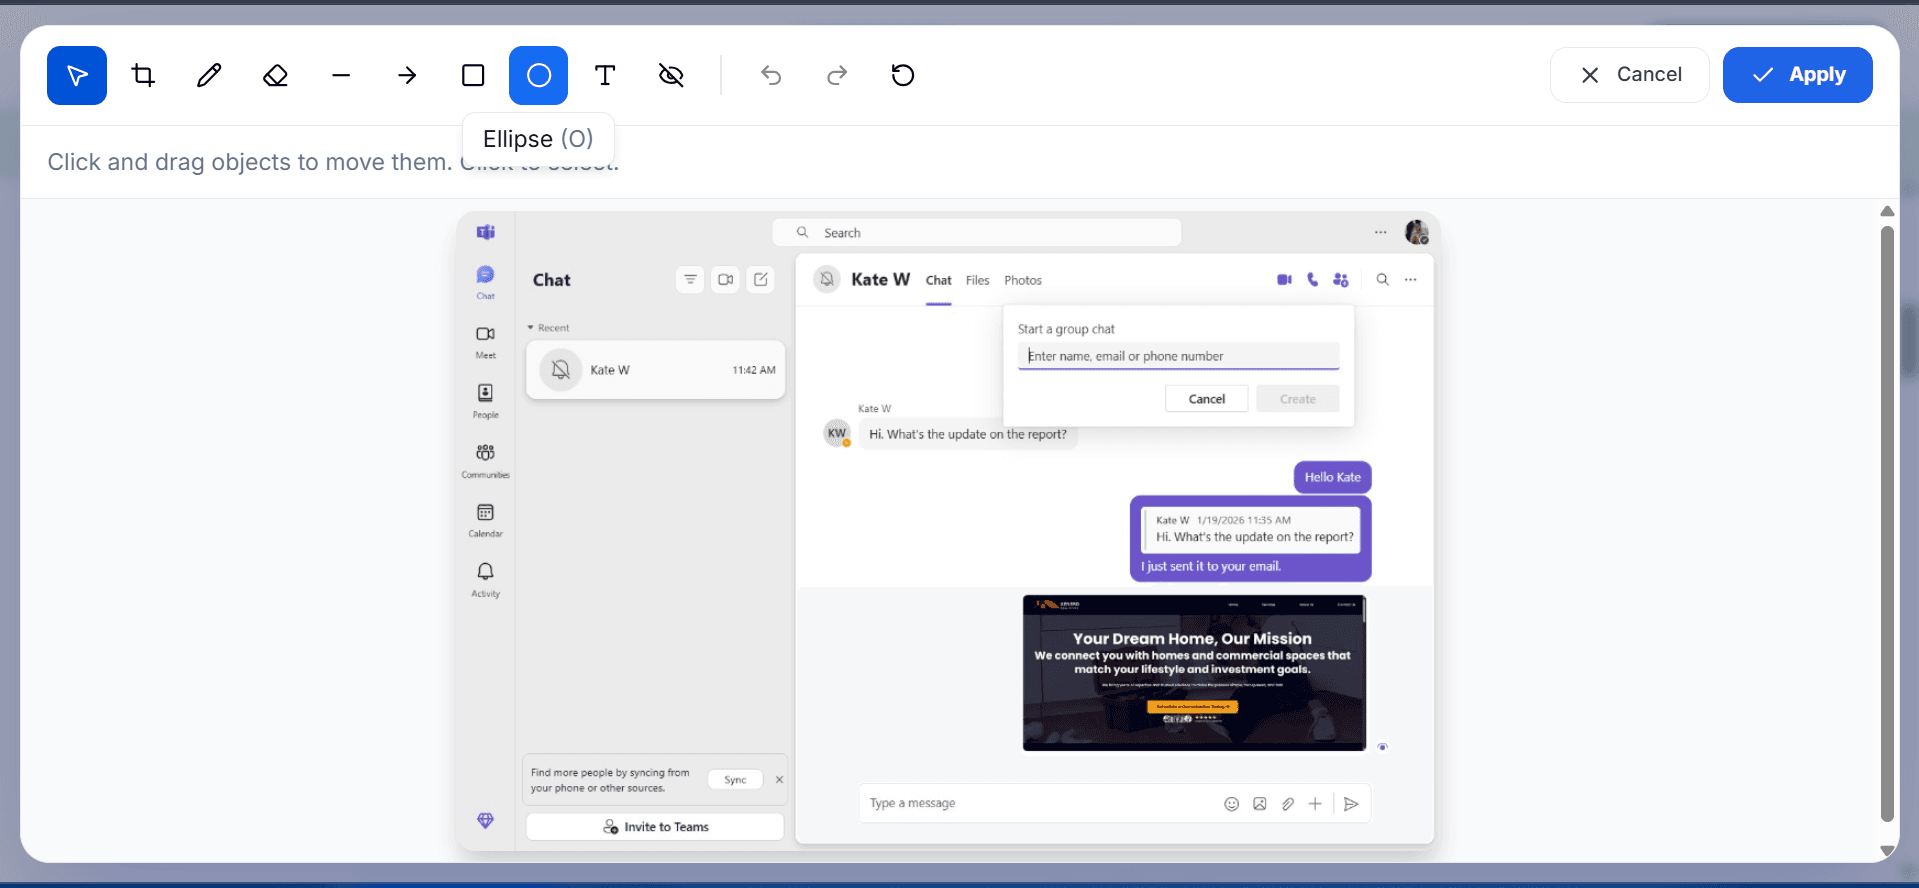
Tip: Click the screenshot thumbnail to edit, where you can blur sensitive info, add annotations, draw, highlight, etc.
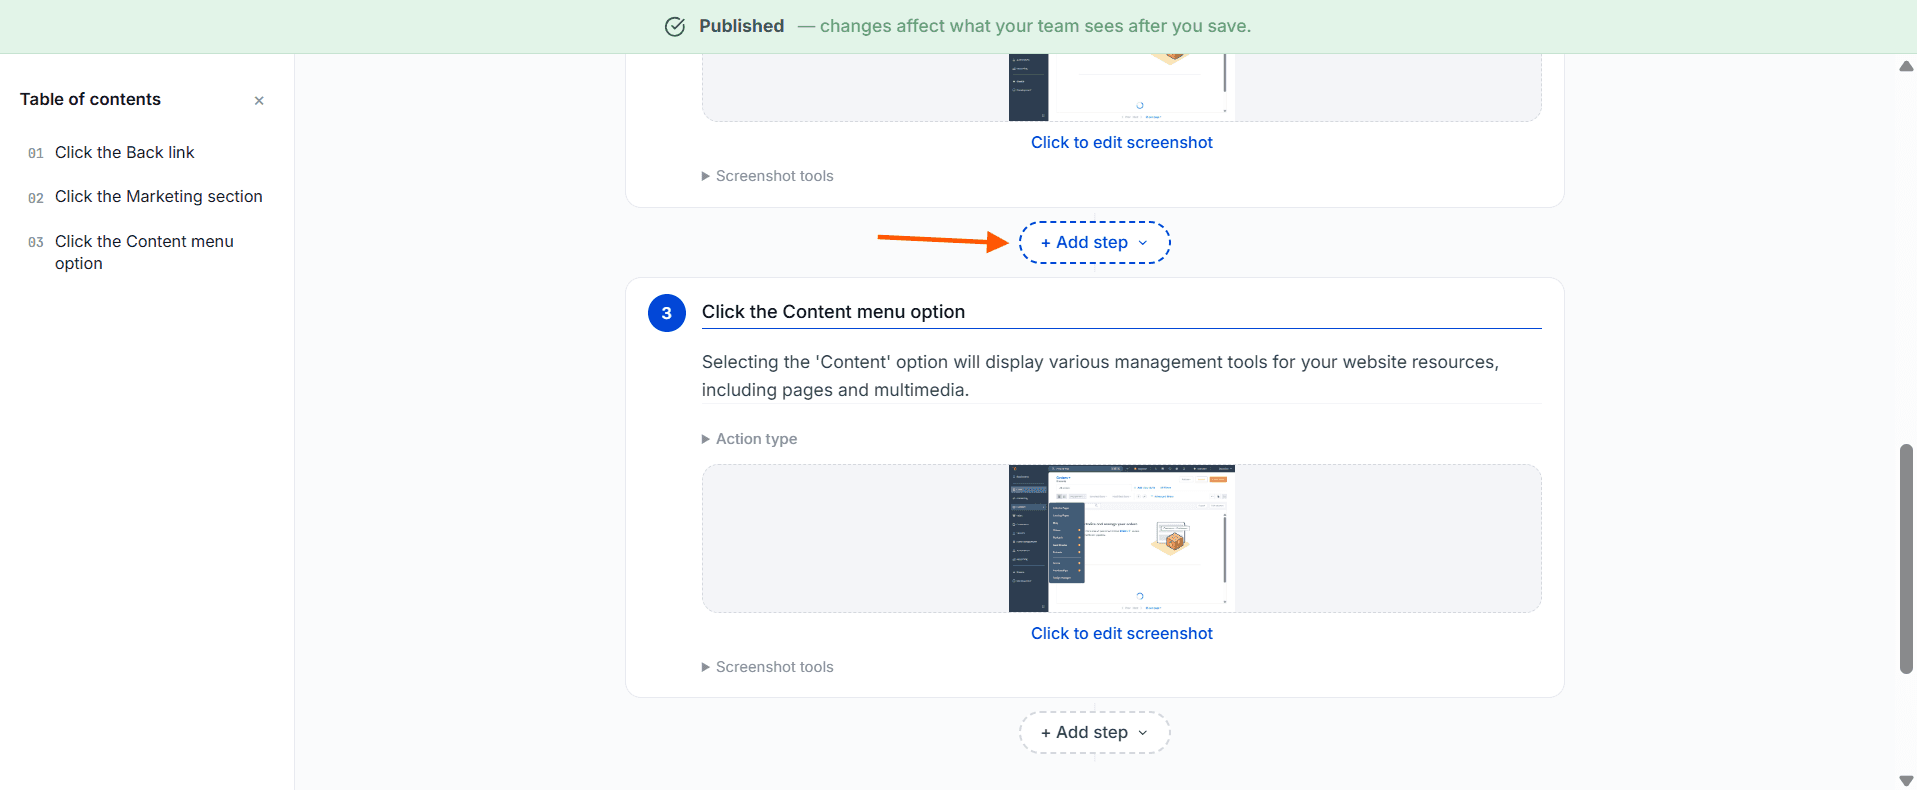
6. Add Step Button
The Add Step button is located between every step. Click it to insert a new step to your guide. Always check the step order after adding new steps to make sure your guide flows correctly.
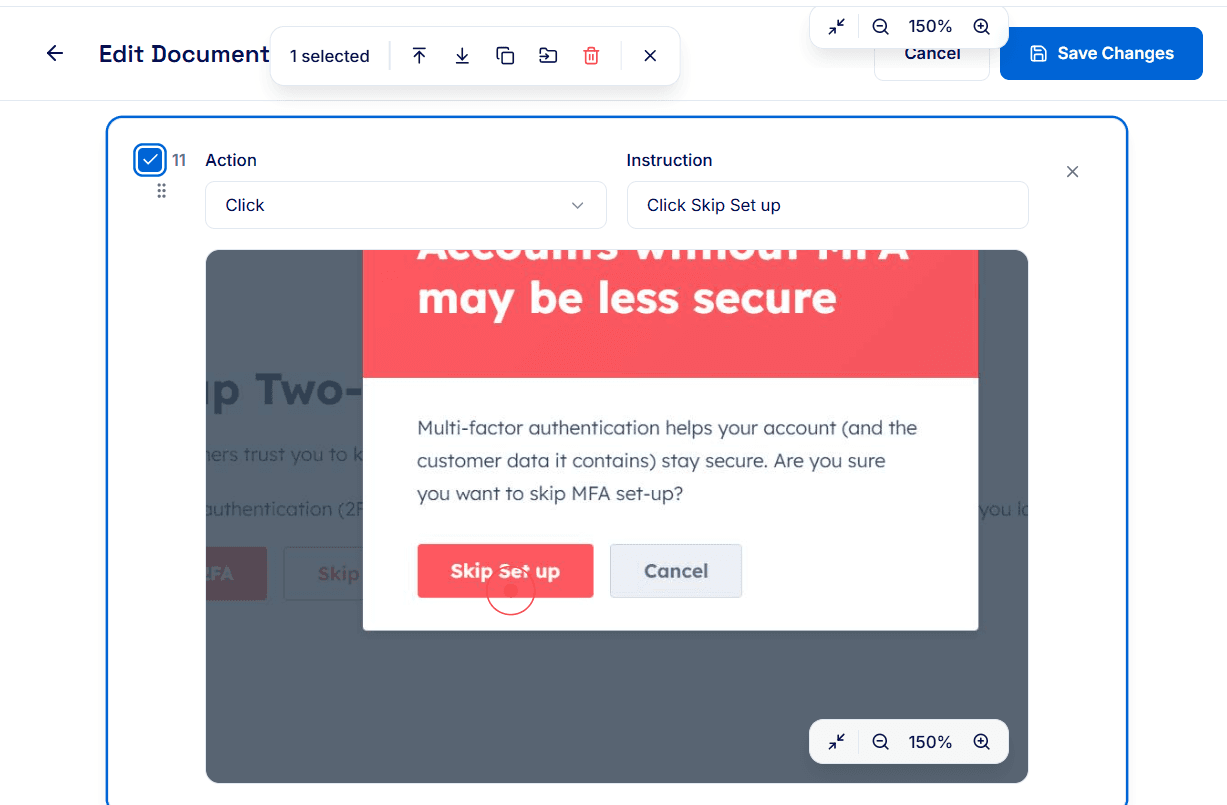
Other Editing Tools
Click the checkbox on the left of any step to reveal additional editing options like:
Send to Top: Move the step to the very beginning of your guide.
Send to Bottom: Move the step to the very end of your guide.
Duplicate: Create an exact copy of the step.
Copy To: Copy the step to another guide.
Delete: Remove the step from your guide.
Step 4: Save Your Changes
To make sure you don’t lose any edits or added steps, confirm that your changes are saved. It’s always a good idea to double-check before closing or navigating away from your guide.
