Getting Started
Understanding the DocuFast Side Panel
Written By:
Overview
The DocuFast side panel is your control center. It appears whenever you record a workflow (Capturing mode) or replay one as an on-screen training (Teach Me mode). Depending on the mode, the panel looks and behaves differently.
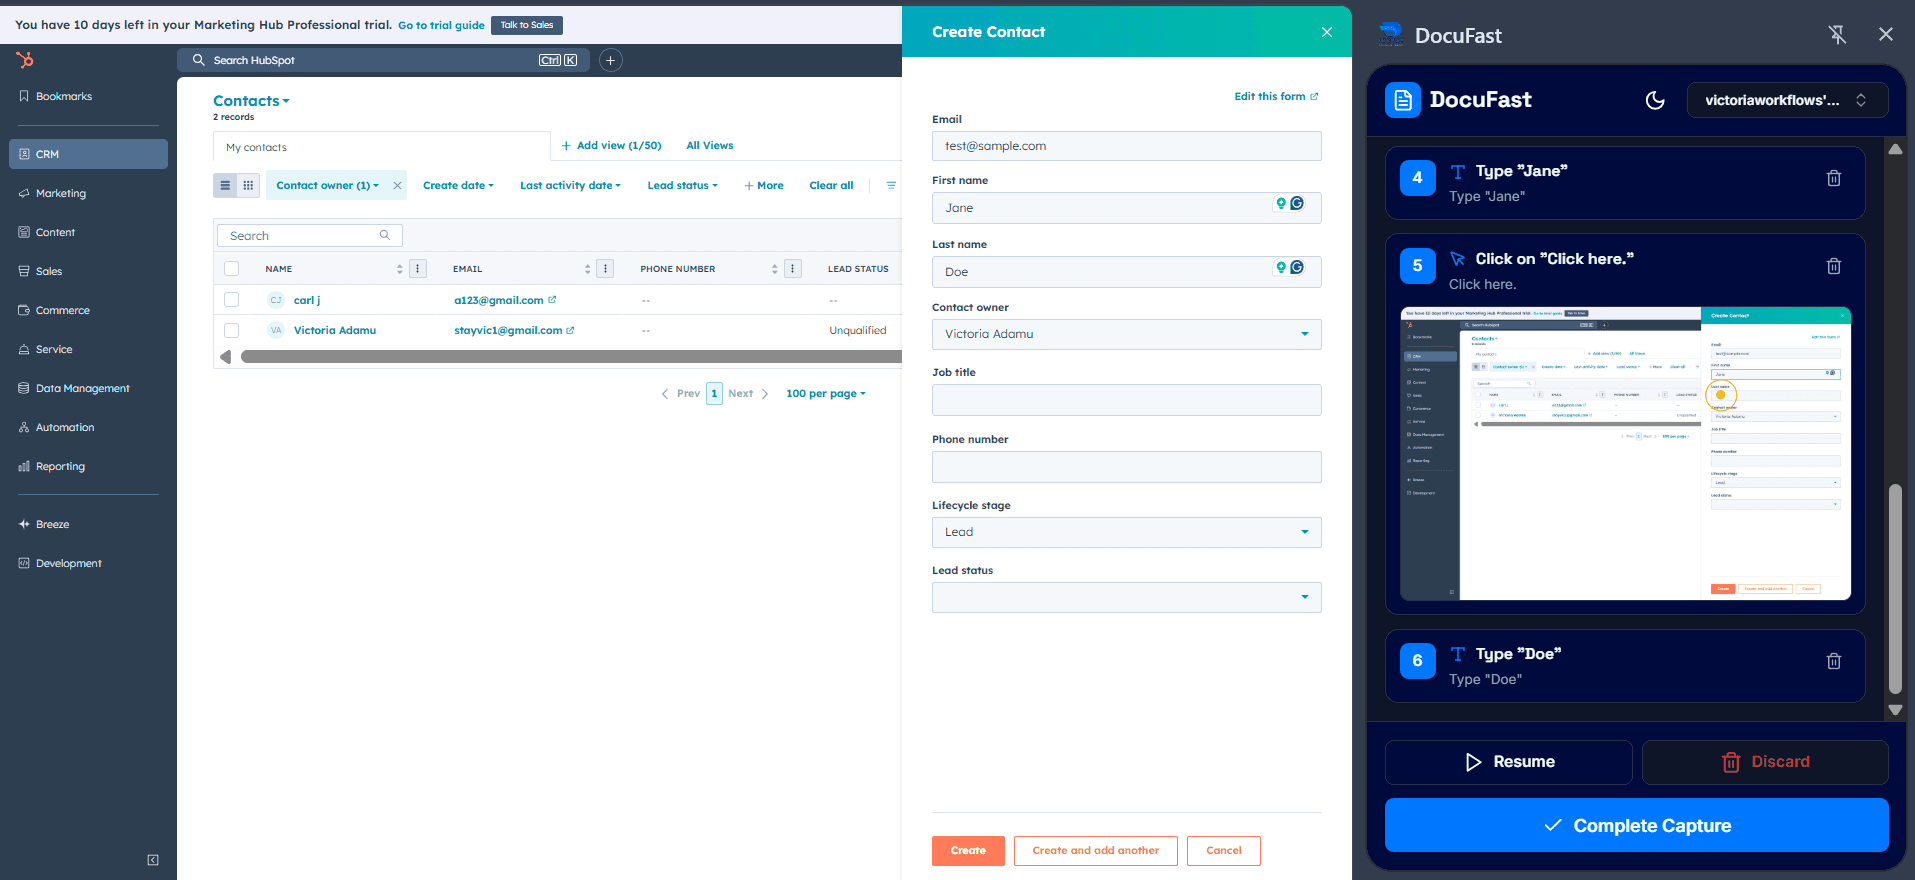
Side Panel when Capturing
When you are recording a workflow, the side panel displays every action you take in real time.
What you see:
Step list: Each action is captured as a numbered step with a screenshot and title.
Click → appears when you click something.
Type → appears when you enter text.
Delete icon (trash): Beside each step, you’ll see a trash can icon. If you clicked something by mistake, you can remove that step.
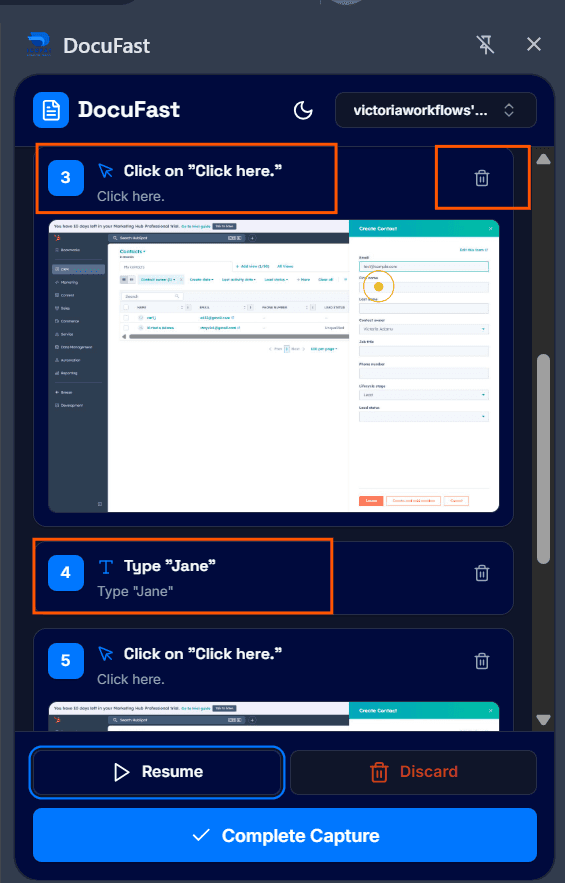
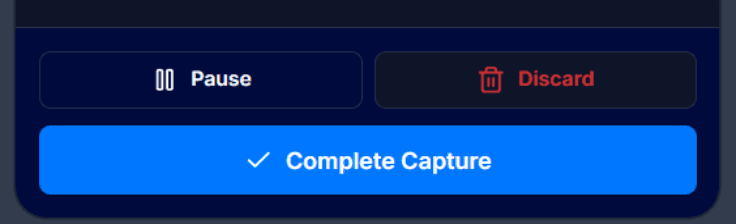
Control buttons at the bottom:
Pause → Temporarily stop recording.
Resume → Continue capturing after a pause.
Discard → Stop recording completely and delete the session.
Complete Capture → Save the recording and generate your document.
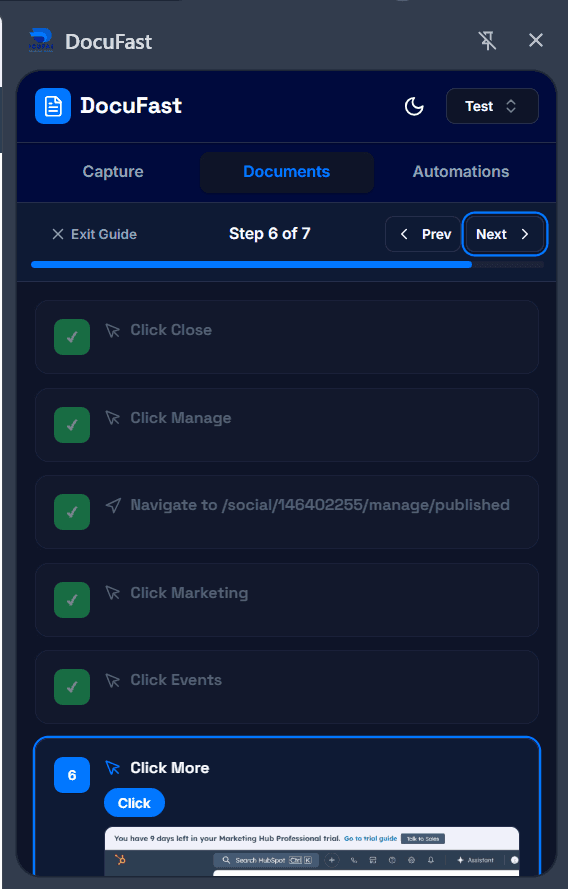
Side Panel in Teach Me
When you replay a workflow with Teach Me, the side panel guides you through each step.
What you see:
Step list with screenshots: Shows the document title, along with each captured step’s title and screenshot.
Enlarge screenshots: Click any screenshot to open it in full screen for a clearer view.
Navigation:
Previous and Next buttons: Use these to move backward or forward through the steps.
Exit Guide button: Click to leave guide mode at any time.
Finish Guide button: Once you reach the last step, this button appears. Click it to end guide mode.
Completed steps turn into a green check mark.
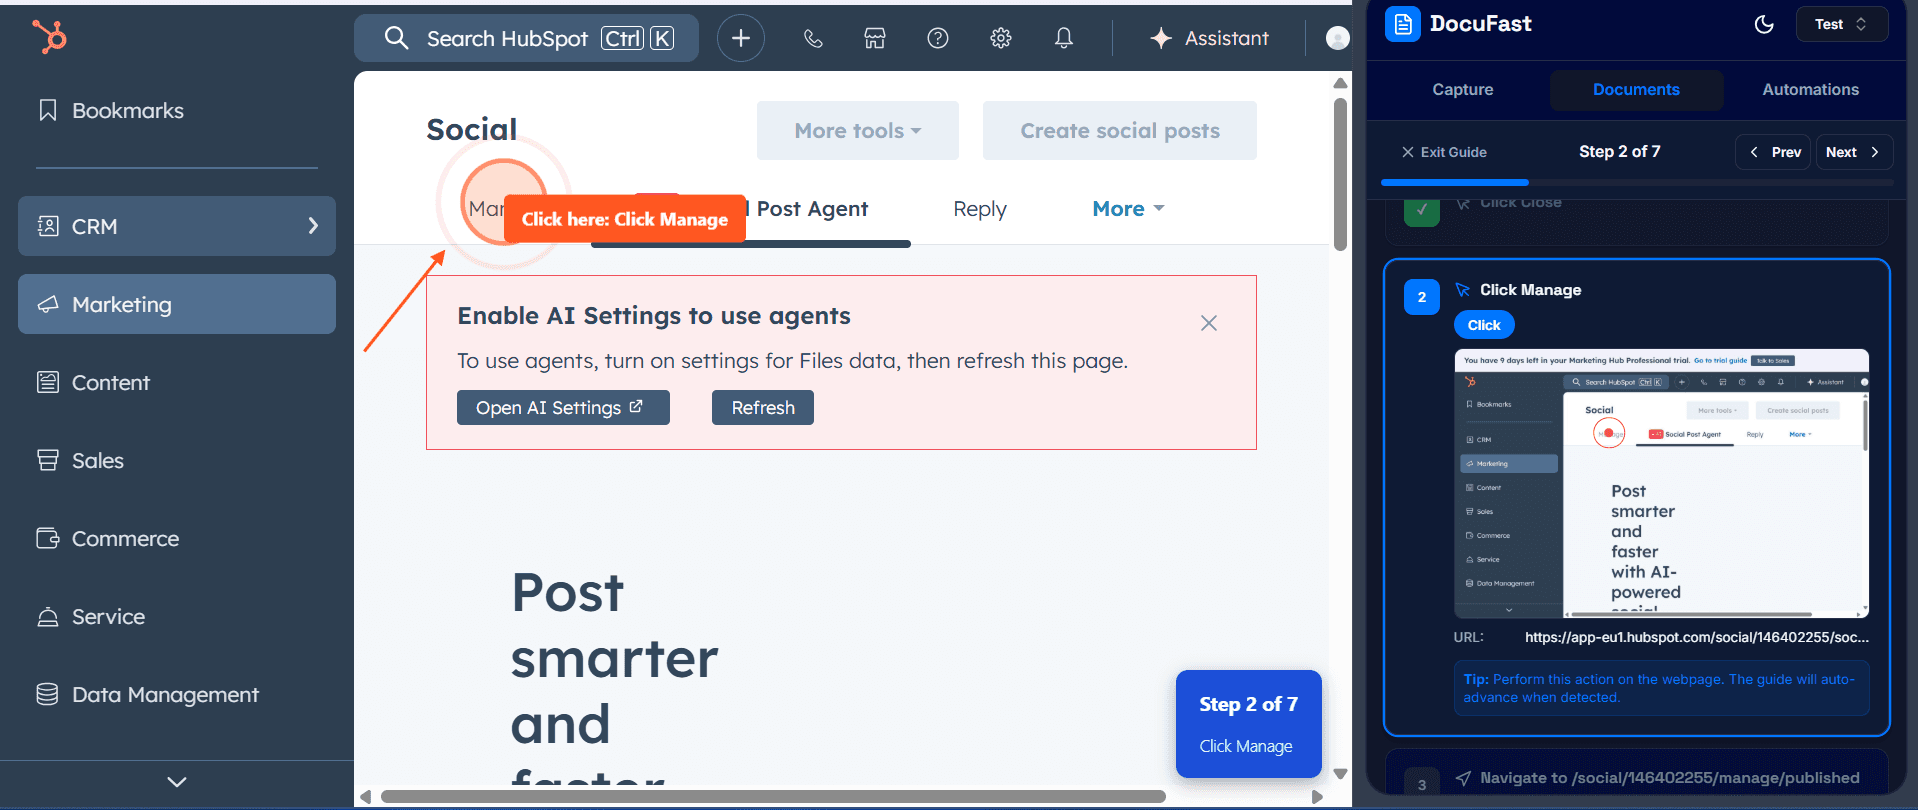
Teach Me with Overlays
The screenshot below shows how the Teach Me mode works when overlays are active.
Overlay Highlight: A transparent highlight and tooltip appear directly in your system, showing you exactly where to click (in this example: “Manage” button).
Real Interaction: When you click on the highlighted area, the action is performed in the actual system — just as if you were using it normally.
Step Tracking: On the right side panel, the step is marked and updates once you complete the click. Completed steps turn into a green check mark.
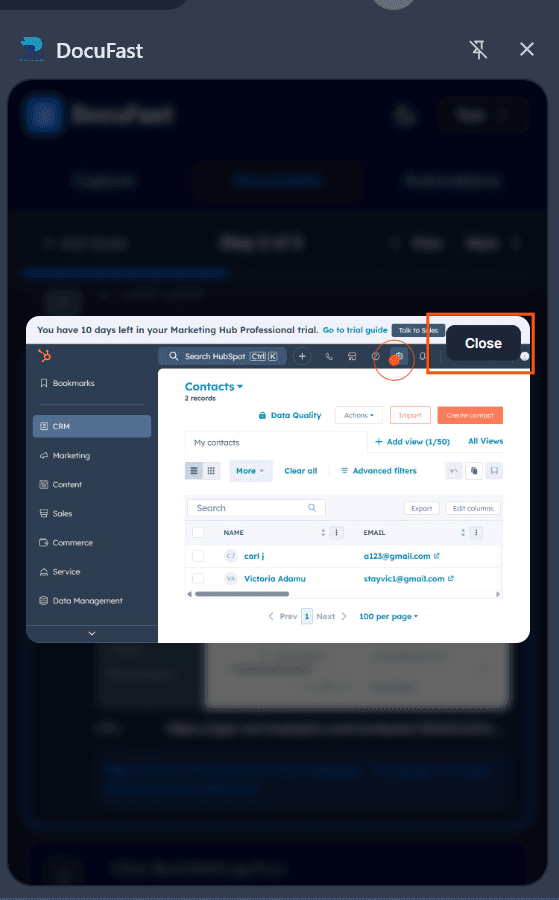
Enlarging a Screenshot
Click on the screenshot in the side panel to open it. To close the enlarged view, press Close in the top-right corner.
Notes & Tips
In Capturing mode, focus on one clean workflow. Use Pause if you need to prepare another action.
In Teach Me mode, overlays will guide you, but reviewing the screenshots ensures nothing is missed.
Deleted recordings cannot be recovered — only Complete Capture saves them.
